You bought a shiny new NVMe SSD, opened your laptop or motherboard box, and… there's no mounting screw. You're not crazy, and nothing is missing from your order. Here's why — and how to get the right screw in your hands fast.
The Screw Belongs to the Motherboard, Not the Drive
By convention, the M.2 mounting screw is supplied by the motherboard or laptop manufacturer, not the SSD maker — because the screw must match the standoff that's part of the board. SSD manufacturers like Samsung, Crucial, WD and Kingston almost never include one. If you built a PC, the screws came in the motherboard's accessory bag (the one that got thrown out). If it's a laptop, the screw is either already in the M.2 slot or was never populated on SSD-less configurations.
Which Screw You Actually Need
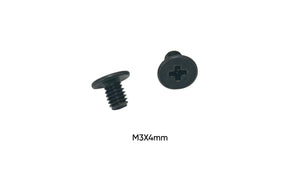
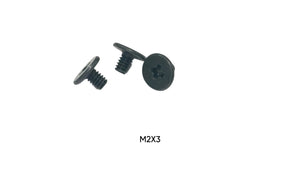
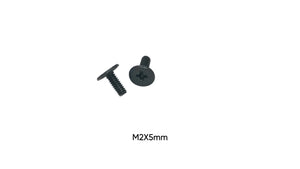
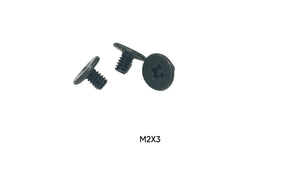
The two common cases: M2 x 3mm — the most common M.2 mounting screw for laptops and most desktop boards (ASUS, MSI, Gigabyte, ASRock standoffs), and M2 x 4mm — used with taller standoffs and some heatsink-equipped slots. A few HP and Dell desktops use M3-thread standoffs instead; if the M2 screw spins without biting, that's your clue.
Don't Improvise
Eyeglass screws, laptop case screws and "whatever fits" are how standoffs strip and drives sit tilted. The correct screw costs a couple of dollars: grab a single M2 x 3mm NVMe screw, or the M.2 SSD Install Kit ($6.99) with both common sizes and spares — because these are the most-dropped screws in PC building.
Installation in 30 Seconds
Insert the SSD at roughly 30 degrees, press it flat toward the standoff, and drive the screw until snug — the drive should sit level with zero flex. Torque is fingertip-light; the standoff threads strip easily (full details in our laptop screw torque guide). For laptop-specific screw maps, see the model-by-model guides.